Everyone loves a salty-sweet combo. But, why is it so good?
Each taste bud on our tongue can only taste one of 4 things: salty, sweet, bitter or sour. We will have a richer flavor experience if we can activate the maximum number of these taste buds. We don’t tend to like things that are exclusively sour, or bitter, or salty or sweet. It’s all about balance.
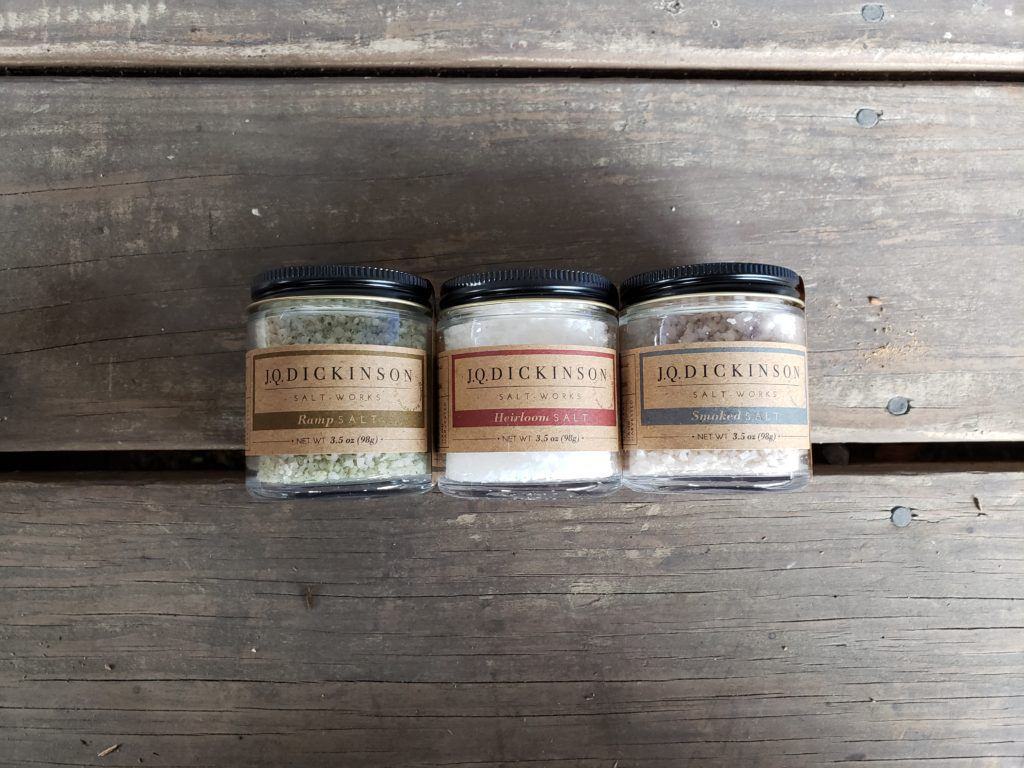
When I taste our salt with people on the road or at the Salt-Works I often offer a small spoonful of caramel with a few crystals of our salt. Caramel is generally considered a sweet dessert sauce, but it has a bitter edge to it. The caramelized sugar gets a “toasty” flavor as it darkens. In one small tasting spoon you get three of your four types of taste buds singing. Add it to an apple or peach dessert and you get all four dancing around with joy. The experience is heightened further by the change in texture. The silky smooth caramel and the crunchy salt crystals allow us to “feel” the flavor. People taste my little samples and immediately love it. They can taste the beauty of our salt and also appreciate the great caramel.
I thought I’d share my recipe. This is a useful staple to keep in the refrigerator. It keeps well for up to 2 months in an airtight container.
Salted Caramel Sauce
2 cups of sugar*
½ cup of water
1 cup of heavy cream
6 TBS of unsalted, cold butter, cut into 3 pieces, 2 TBS each
¼ tsp J.Q. Dickinson salt, plus more to garnish
*You can use organic, unrefined sugar but it is harder to tell when the caramel is ready because it already has some color to it. I recommend starting with regular, granulated sugar until you get the feel of the recipe.
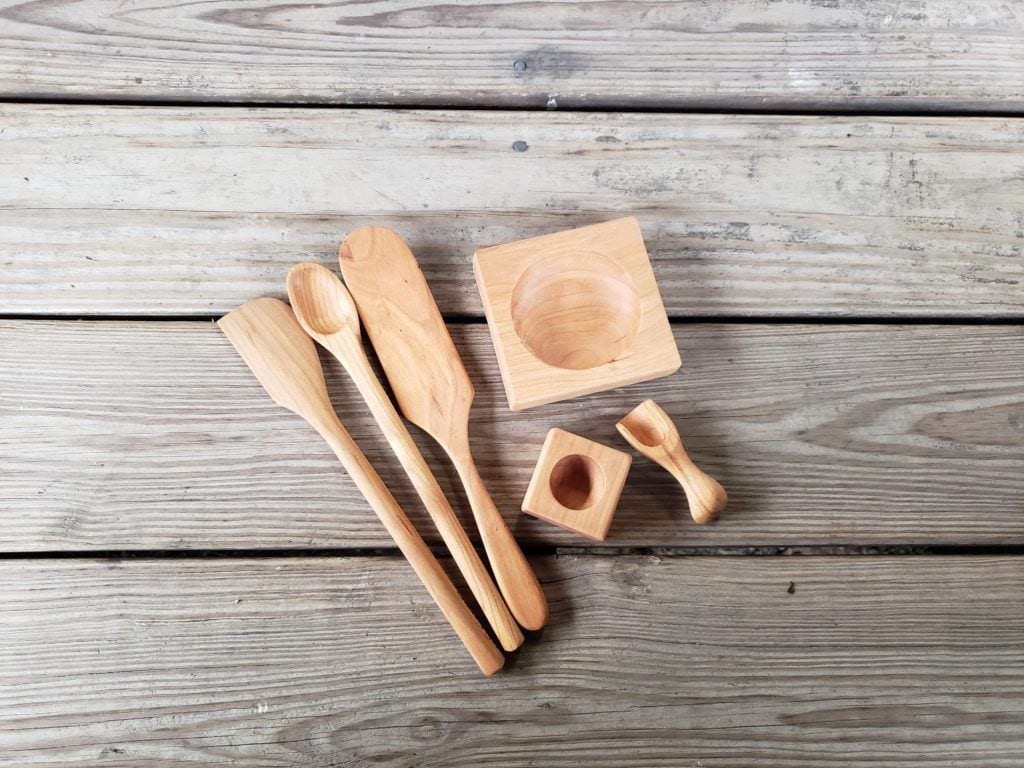
Equipment and utensils needed: Heavy 3-4 quart saucepan, wooden spoon, pastry brush, wire whisk, oven mitt.
Put the sugar in a heavy bottomed 3-4 quart saucepan. Add the water. Using a wooden spoon, gently stir the sugar so it is evenly moistened. Do not splash the sugar on the sides of the pan. You can use a pastry brush dipped in cold water or wet paper towel to clean the sides if necessary. (This sugar will cook more quickly and burn if it is left there). Put the pan over high heat. Do not stir or swirl the pan, unless you feel it is cooking unevenly. Swirl gently if it is. The mixture will soon get very clear and start boiling. Let it go but keep an eye on it. While it’s cooking get your cream and butter measured. Have your whisk and oven mitt handy. In about 10 minutes, depending on your heat, you will see the mixture start to take on some color. Watch it carefully. You want it to be dark mahogany in color. When it gets to this point, remove it from the heat and immediately add the heavy cream. (If you wait the sugar will keep cooking and will burn.) With the oven mitt on to protect your hand from the steam whisk the cream into the sugar. It will look really ugly and bubble up but don’t worry! Once the bubbles subside and it is smooth add the butter and ¼ tsp of the salt. Whisk until the butter melts and is fully incorporated. Let it cool for about 15 minutes. Pour it into the container of your choice for storage for up to 2 months or use it right away. Reheat in the microwave or on the stovetop.
See a video of the process on Instagram @jqdsalt
Some suggested uses, garnished with J.Q.D. salt of course:
- Serve warm over any flavor of ice cream with a sprinkle of salt.
- Drizzle over apple/pear/peach crisp/pie/cobbler and top with salt.
- Make a sundae with dark chocolate brownies, coffee ice cream, toasted almonds, caramel sauce and salt.
- French toast with sliced bananas, toasted walnuts, warm caramel and salt.
- Warm gingerbread with vanilla ice cream, caramel and salt.
- For breakfast, or a lighter dessert, top plain Greek yogurt with sliced peaches, toasted pistachios, drizzle with caramel and sprinkle with salt.


